Control the robot
Before jogging or posing the robot, ensure that you have a solution running on a physical workcell or simulator.
This section describes the Flowstate Control panel user-interface (UI), which can be reached from by selecting the robot in the world viewer or in the right hand panel. In the left hand panel, you navigate to the Control tab.
In the control panel you can read current data on the robot state, such as joint positions, TCP pose as well as control the robot with various modalities. These are explained below.
Jogging
By selecting the Jogging tab in the Control panel you can move the robot incrementally about the current position.
Jogging control does not perform collision checking. Ensure the robot has space to move and if necessary lower the Global speed override if small motions are desired.
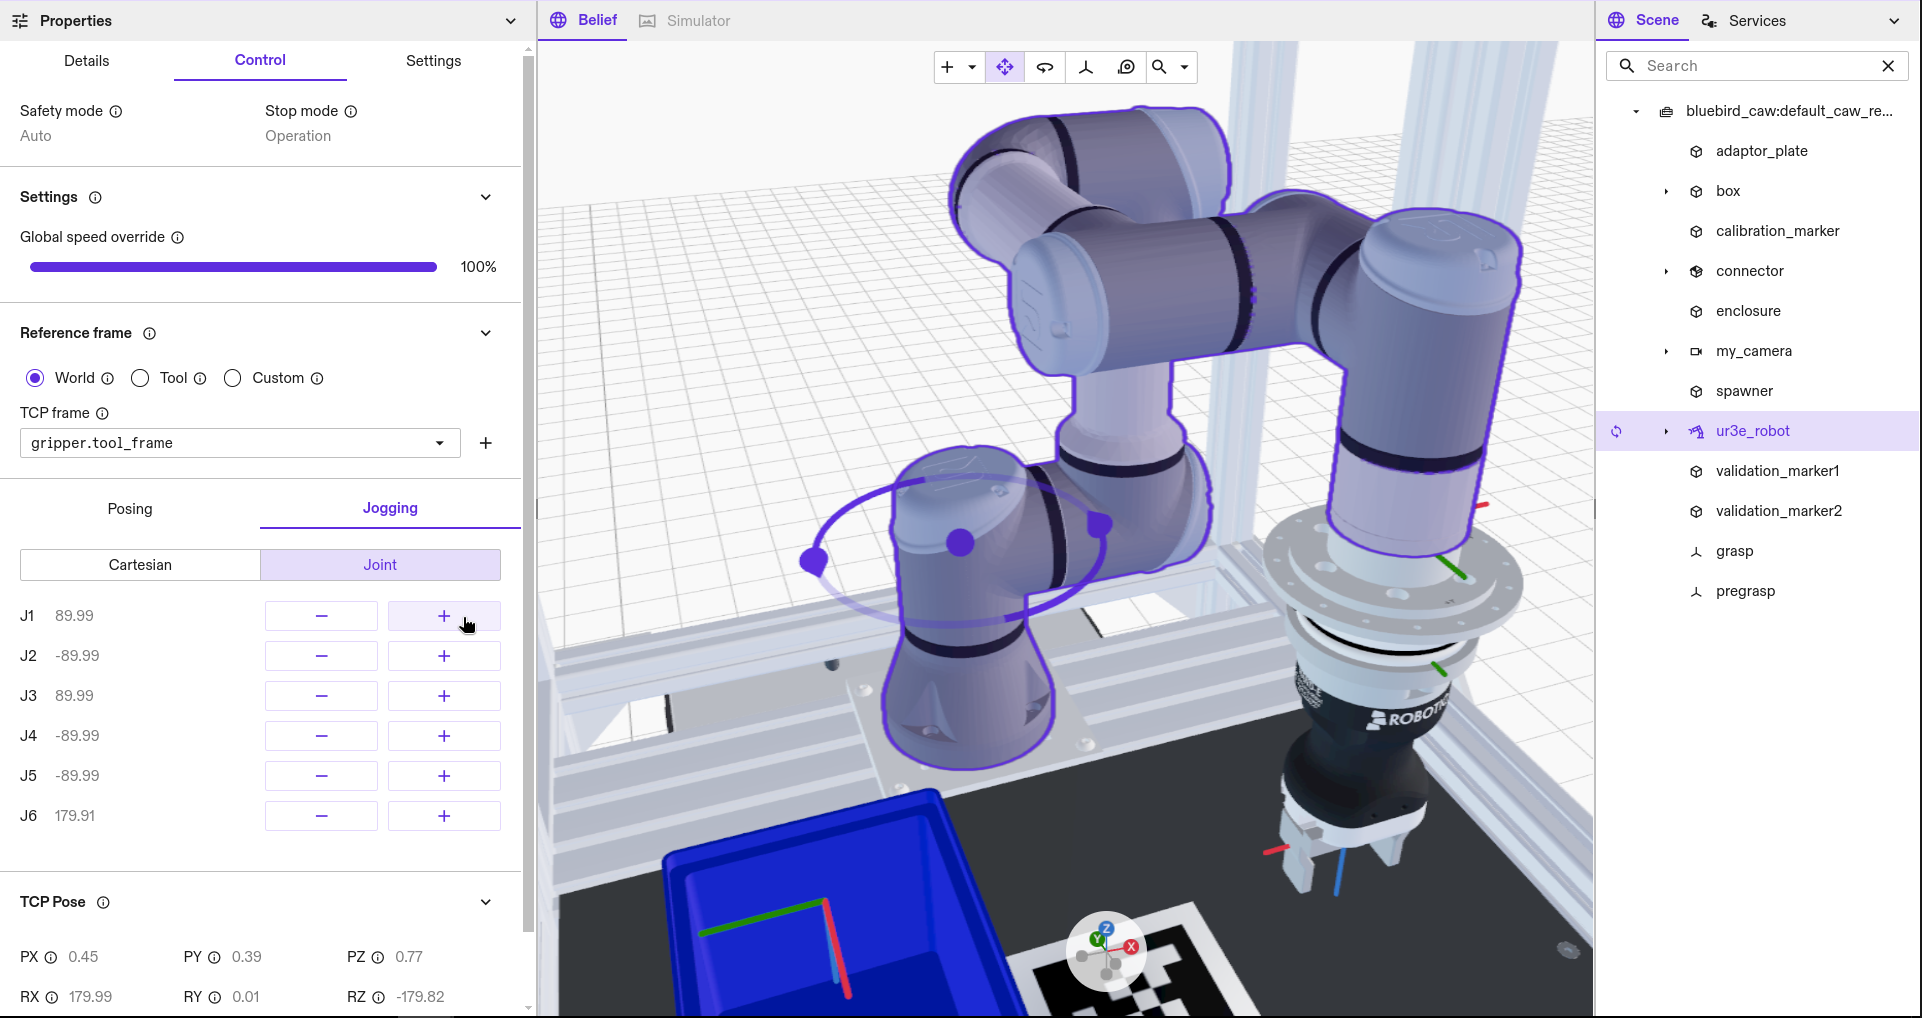
Joint jogging
Joint jogging moves the robot in joint space, moving individual joints. This can chosen by selecting the Joint option.
Hovering over the "+" or "-" buttons will render the expected motion in the Belief world viewer while clicking will execute the motion. Jogging will continue as long as the button is pressed.
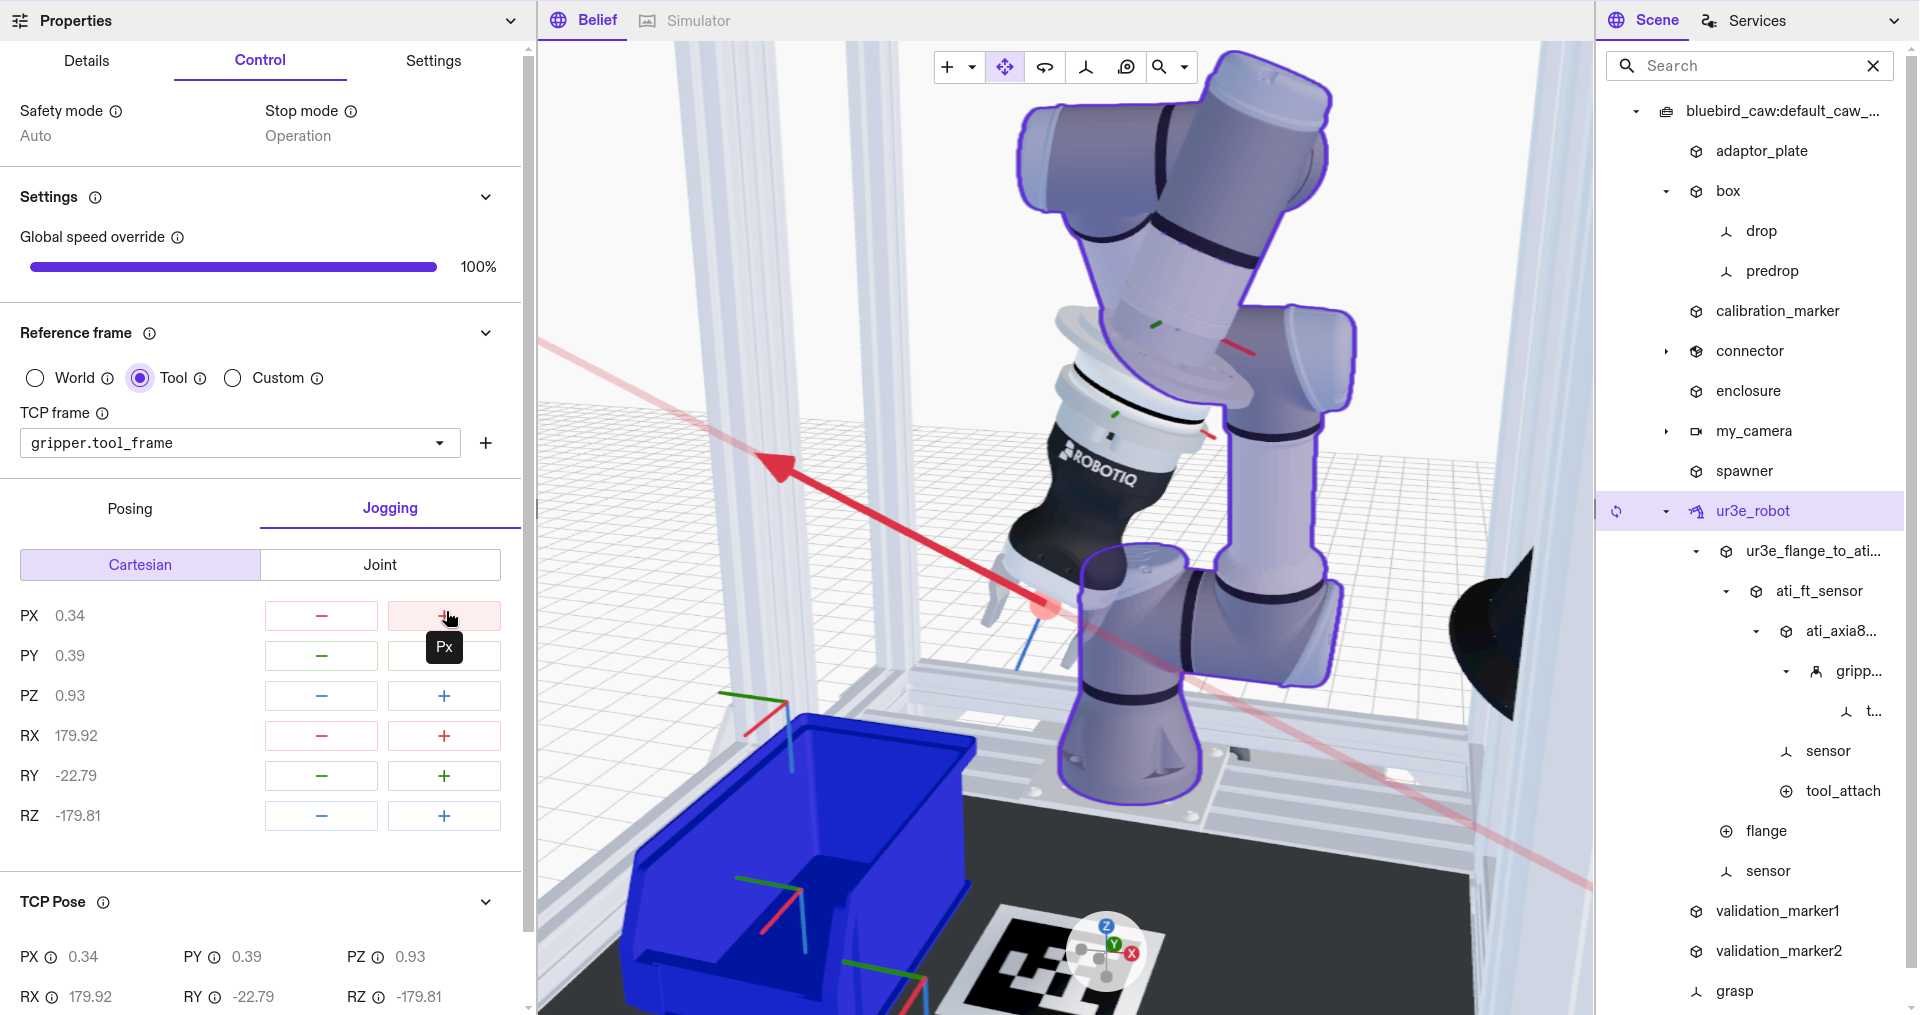
Cartesian jogging
Cartesian jogging moves the robot in Cartesian space by moving in a particular translational (x, y, z) or rotational (Rx, Ry, Rz) direction with respect to the chosen reference frames.
Cartesian jogging may be executed with respect to different reference frames. This can be chosen by selecting:
- World: where the chosen TCP frame is moved in a direction aligned with the world coordinate frame.
- Tool: where the chosen TCP frame is moved in a direction aligned with its own pose.
- Custom: where the chosen TCP frame is moved in a direction aligned with the Custom base frame.
Hovering over the "+" or "-" buttons will render the expected motion in the Belief world viewer and clicking will perform the motion. Jogging will continue as long as the button is pressed.
The robot will stop before entering singular configurations.
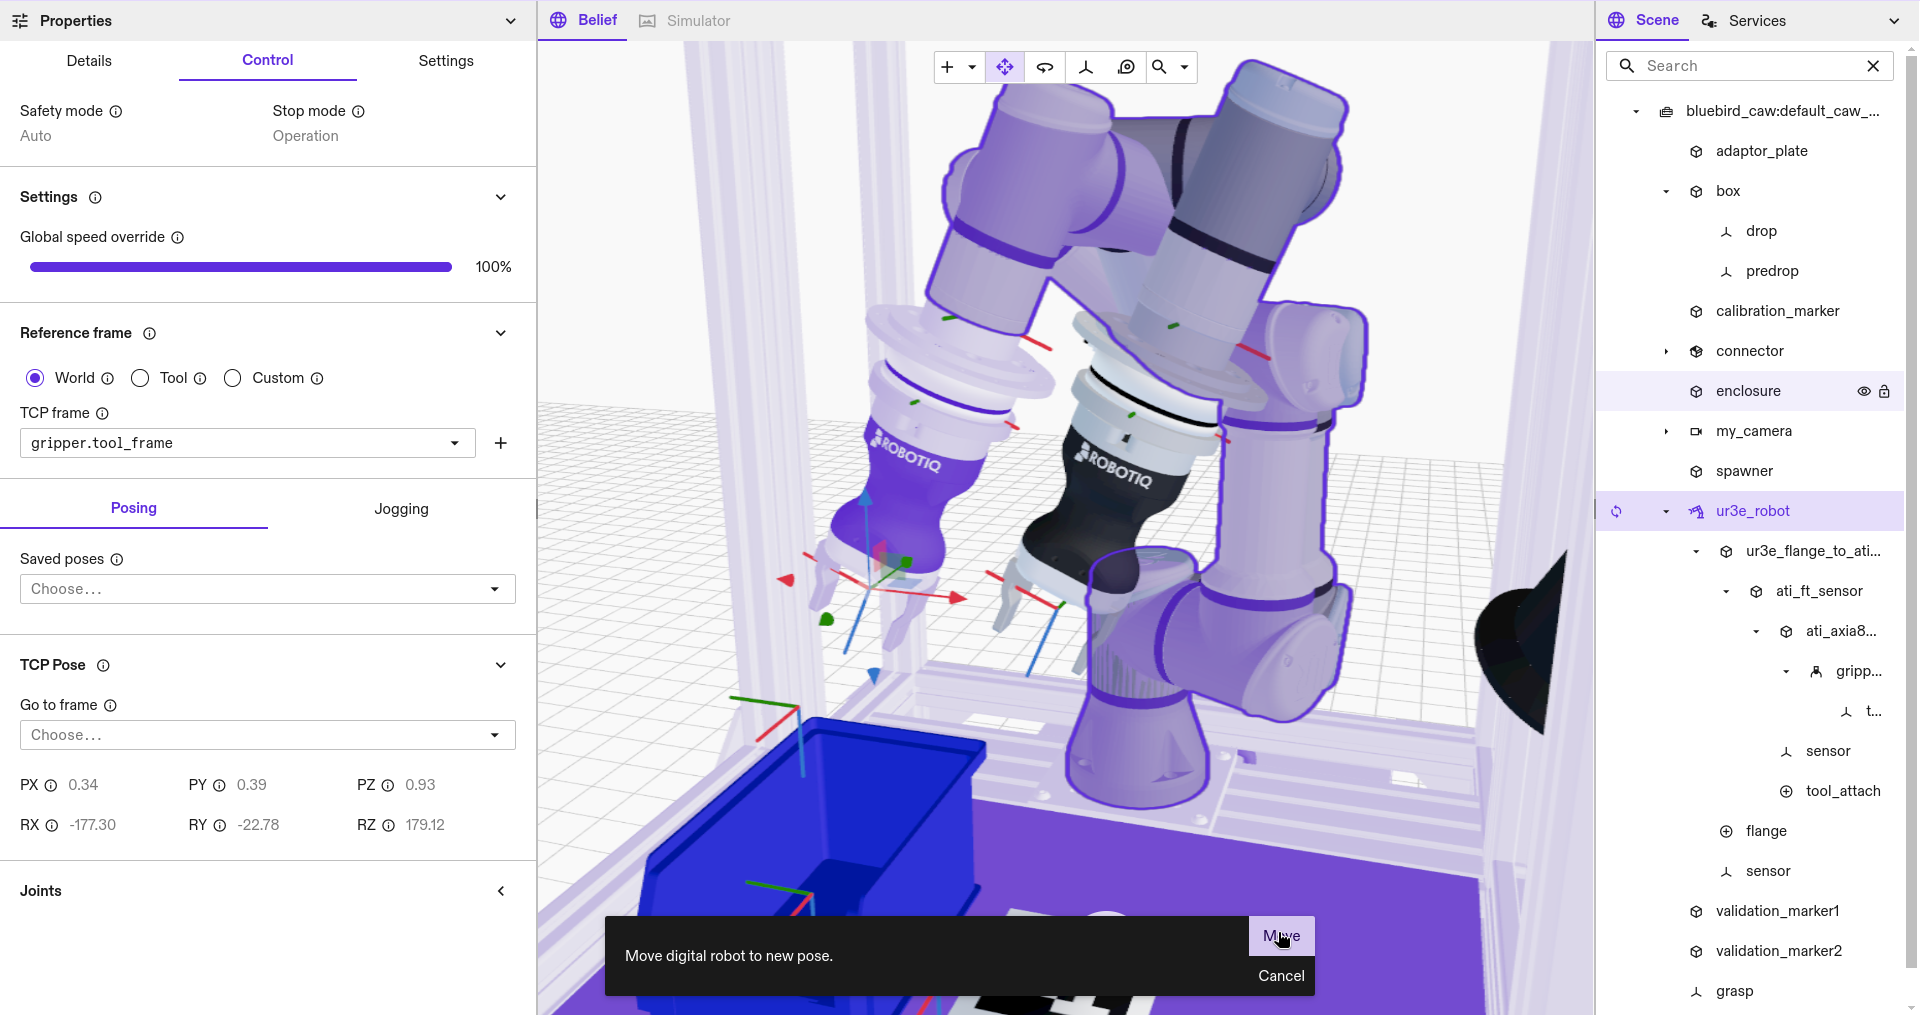
Posing
By selecting the Posing tab in the Control panel you can move the robot to a desired pose.
You can chose the target pose through different methods:
- Under Saved poses, select a pose in the Saved poses dropdown.
- Under TCP Pose select a frame in the world as the TCP target.
- Under Joints, enter a joint configuration.
- Drag the TCP to a new a pose in the Belief world viewer.
When a target pose is selected this will be rendered in the Belief world viewer.
Clicking "Move" will execute the motion with collision checking.
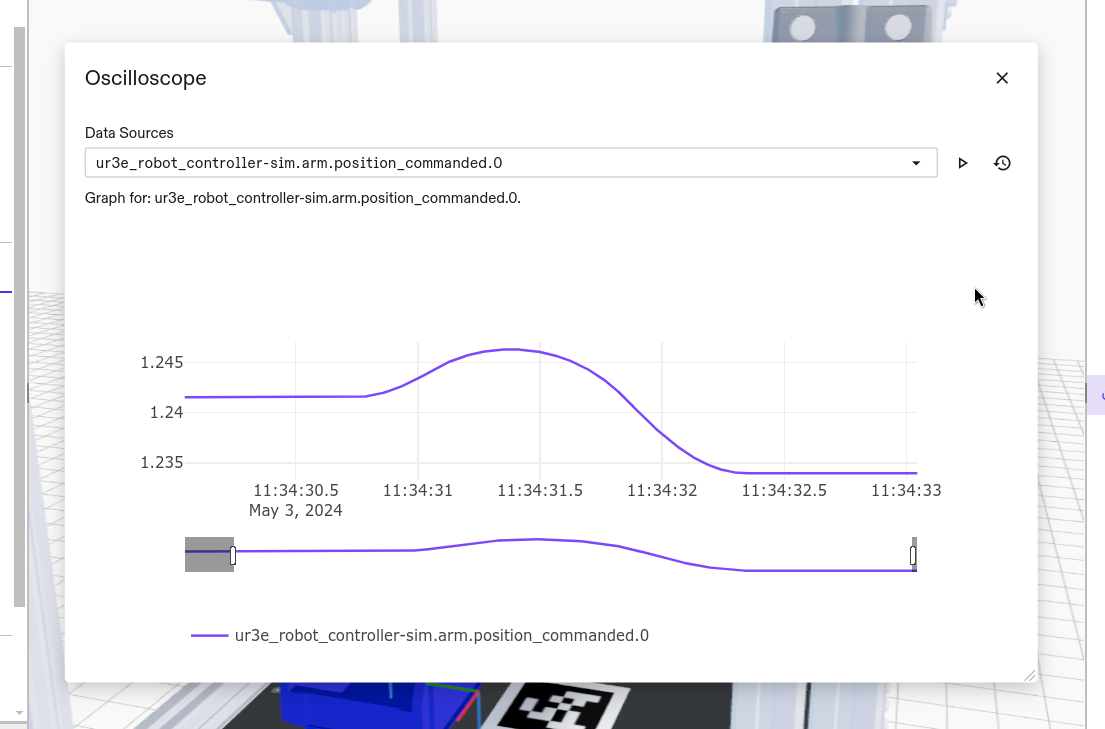
Oscilloscope
You can inspect a time-series of floating-point values generated by ICON via the oscilloscope feature. To bring up the oscilloscope, navigate to Window | Open Oscilloscope. This should expand window where you can select signals from a list of logged properties. Select at least one of these properties to see a time-series graph of the property value(s) in real time.
The time series data may not be available until a process that moves the robot has been executed.
You can pause the time-series and click Detailed History to select time ranges and downsampling. Alternatively, use therange-slider on the bottom of the graph to see a different subset of the graph (including zooming in on the graph).
You can use the same visualization to inspect the logged data in detail by changing options like
the interval length, sampling rate, and interval times. This detailed history can be exported as a .csv
with column headers including timestamps (in milliseconds) and each selected data source, by clicking Download.
Handling faults
If the robot encounters a fault, the fault error message will appear at the top of the Control panel.
Once the reason for the fault has been resolved, simply click the Clear button and the robot becomes available again.